As tutorials go, this one is going to be a little sketchy! Unfortunately I didn’t take photos of the making process, not knowing I was going to attempt a tutorial. The crafting is all simple enough…please ask questions if anything isn’t clear. There was quite a large element of crochet to the garland I made, but if you can’t crochet then never fear – I’ve included crochet-free options to make a garland that will be every bit as effective. So, without more ado…
What you will need:
- wire – enough to go around the head of the woodland-faerie-to-be, plus about 10cm extra
- ribbons – I suggest at least 4 or 5 1m lengths of satin ribbon in colours of your choice, about 1 cm wide. It’s fine if some are thinner – and I think organza ribbon could work well too.
- green yarn and an appropriate crochet hook, if you plan to crochet leaves and tendrils. Crochet-free option: 3m green yarn or 1m green cord and also some scraps of green felt.
- yarn in the colours of your choice for crochet flowers, or else felt in the colours of your choice
- glittered wire butterfly – around 5cm across is good (I found mine on eBay)
- optional extras: artificial flowers and leaves, beads, buttons (novelty buttons can work well…toadstools, minibeasts etc!)
Instructions:
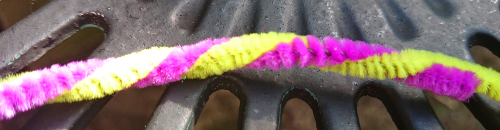
- First of all you need to make a ring of wire, which will be the basis of your garland. I used green pipe-cleaners for this, which was a mistake! I liked the idea that any visible bits of wire would be green and fuzzy and kind of organic looking. However, the pipe-cleaners were really not sturdy enough for the job, even though I wrapped them three or four thick all around. For a less flimsy garland you should check out the wire in your local craft shop…or your local hardware store. Green wire would be my first choice, though you could always spray paint other colours of wire, or wrap it in green tape…florist’s tape, for instance. To be honest, though, greenness is far from vital. The next stage covers the wire almost completely, even if you’re not trying! Anyway, make a ring of wire to fit the head of your faerie-to-be. This can be done with just a head measurement, but ideally the wearer should be there so you can get the fit right and make sure the garland’s going to sit where you want it. Just wrap the wire round your faerie’s head, overlapping the ends of the wire. Then twist each overlapping end around the circlet, trying not to leave any sharp ends on the inside, where they might puncture your poor faerie’s scalp. This twisty bit will go at the back of the garland. (If you’re wrapping your wire in green tape then now’s the time to do it.)
The twisty bit at the back should look like this (only with sturdier wire!) - Start wrapping your wire circlet with ribbon. To do this, take a 1m length of ribbon and find the centre point. Place the centre point at the front of the circlet and wrap one end round and round the wire until you reach the back of the circlet, where the wires are twisted together. (You don’t need to worry about covering the wire completely at this point.) Then wrap the other end of the ribbon around the other half of the circlet until you reach the back of the circlet. Knot the two ends of the ribbon together where they meet, leaving two long tails dangling…these will hang down your faerie’s back. Then take another length of ribbon and repeat the process. You might want to wrap it the other way so it criss-crosses over the first ribbon – it’s up to you! Once you have two ribbons wrapped and knotted you will probably find the wire underneath is more or less covered. If you want more coverage – or more colours of ribbon – add another. Then take any remaining ribbons and knot them into place about half way along their length at the back of the circlet. You should now have a wrapped circlet with a bunch of ribbon tails at the back (which will not all be the same length…I think it looks best if the lengths are a bit random!) I like to trim the very ends on the diagonal to minimize fraying…and just because it looks better. The knots might look a bit of a mess, but don’t worry – they get covered up later on.
- Next you’re going to make a long, leafy green tendril. To crochet it, start chaining with your green yarn. When your chain reaches something like 12cm, you can start to form the leaf. Starting in the second chain from the hook and making one stitch per chain, crochet dc, htr, tr, tr, htr, dc (that was UK terms. In US terms: sc, hdc, dc, dc, hdc, sc). That’s your first leaf! Continue chaining for another 12cm or so and add another leaf…and so on until your tendril is about 1m long. (You can vary your leaf length and width as the whim takes you, by doing more stitches, or using taller ones.) For the non-crochet version you can either use a 1m length of green cord for your tendril, or you can plait together three 1m lengths of green yarn. For the leaves, cut out some leaf shapes from green felt. If you feel like it you can embroider veins onto the leaves before you sew them onto the tendril at intervals. When your tendril is complete, twine it around the circlet and knot it at the back.
 Now you will need to make some flowers! If you don’t already have a favourite crochet flower pattern then Google will be your friend…there are loads of free flower tutorials available. For the non-crochet version, simply cut out some felt flower shapes. You could add a bead or a button for the middle of the flower.
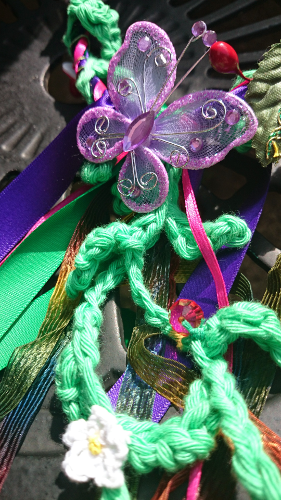
- This is probably the time to attach your glittered wire butterfly. It needs to be attached at the back of the circlet, neatly covering all the ribbony and yarny knots. (Some of these butterflies are on wire or a clip and others need to be sewn.) Of course, you don’t have to have a butterfly at the back. You could easily use a biggish flower, or perhaps a bow – or anything else which will cover the knots and provide a focus.
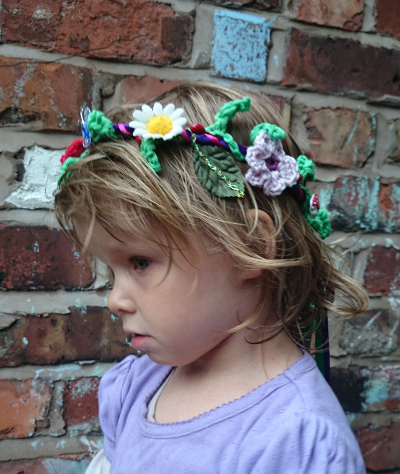
- Final step. It’s time to get down to some serious embellishment! Gather the flowers you’ve made, along with whatever else you have in the way of buttons, beads, artificial flowers and other fripperies. All you need to do is decide how you want to arrange them on the circlet and then sew them in place (though it can take a while to get it looking suitably encrusted if you’re anything like me!). I found it easiest to sew most of mine to the tendril, but you also have the option of sewing onto the ribbon (or both). I sewed a few of my smaller bits and pieces onto the dangling ribbons at the back.
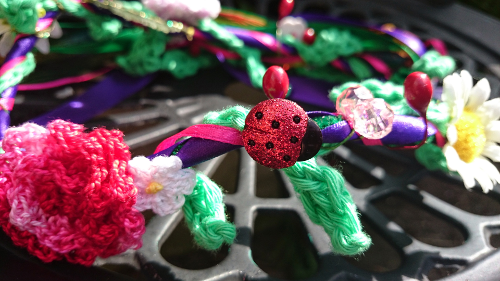
Fripperies!
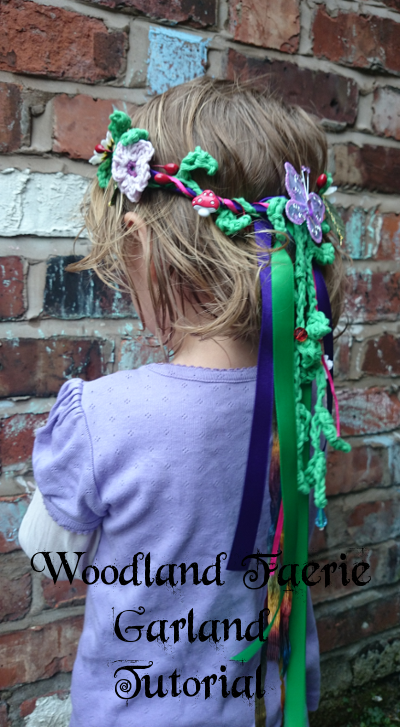
And that’s it! It’s quite straightforward but could be varied in so many ways…I’m quite tempted to try an autumnal version in shades of gold, copper and flame – and it would be interesting to see how it would look if you ditched flowers in favour of leaves in a variety of shapes and colours. Hopefully I’ve inspired someone to have a go at making their own version…if you have a go at making a Woodland Faerie Garland I’d love to see pictures!